Neat paint edges begin before the brush reaches the wall. Dust under tape, a rough boundary or an overloaded brush can spoil a line that looked carefully laid out. Treat masking as one part of surface preparation, not as a barrier that makes every other detail irrelevant.
Prepare the boundary and apply compatible tape
Inspect the boundary between the two surfaces. Loose paint, crumbling filler and open gaps need an appropriate repair before they can form a clean edge. Do not tape over damage and expect a fresh coat to hold it together. On older unknown coatings, establish whether disturbance is safe before scraping or sanding.
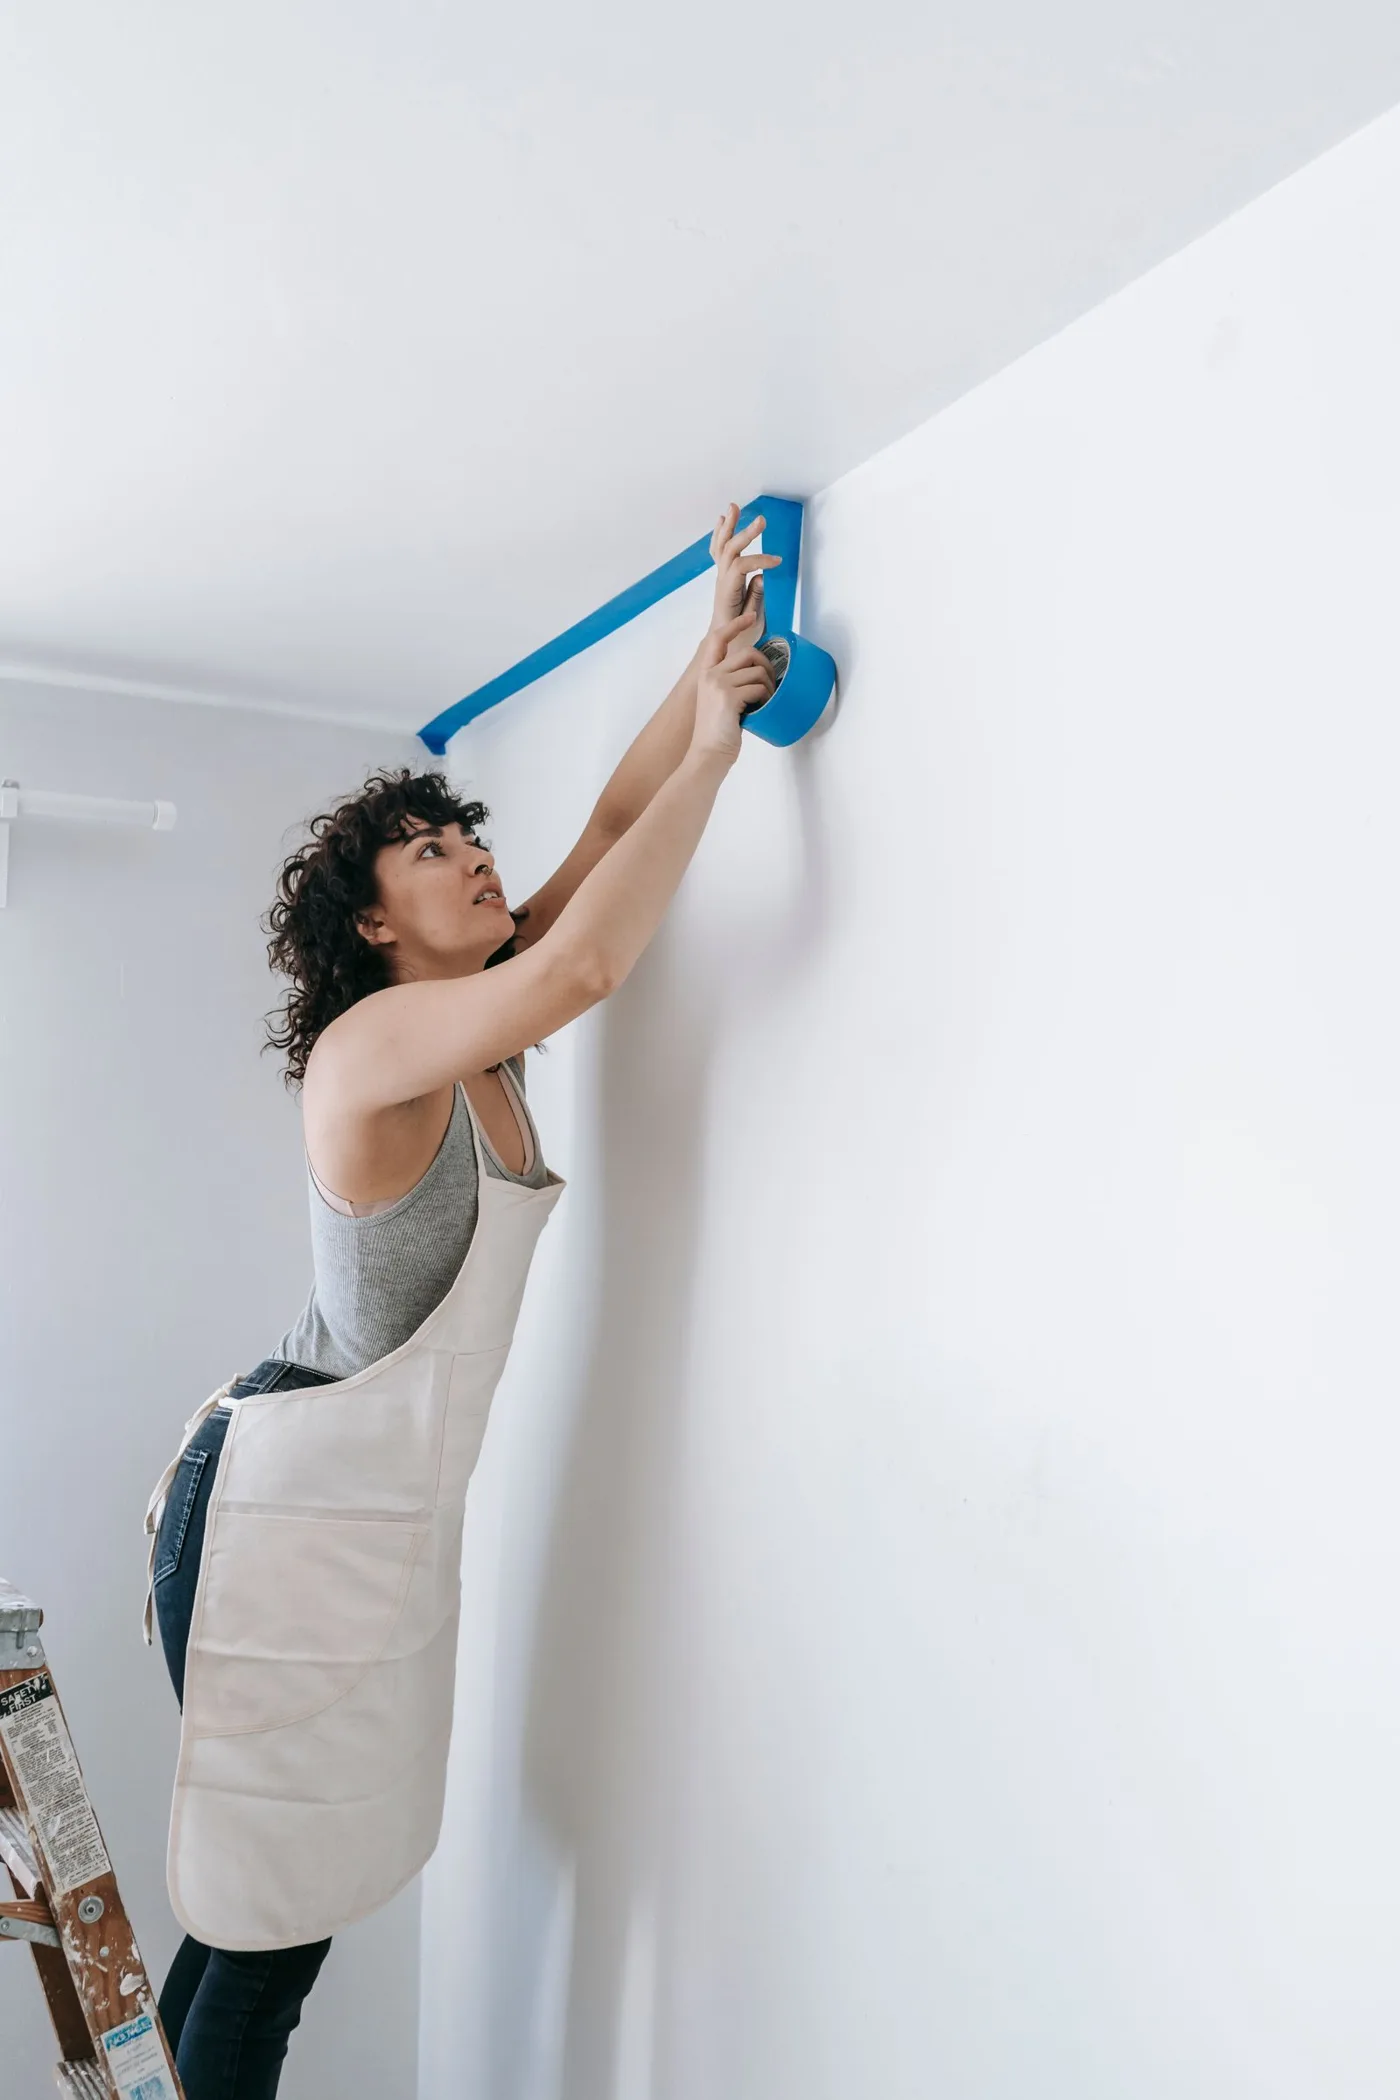
Select tape for the surface, not merely for its color. Delicate finishes, freshly painted trim and textured surfaces have different requirements. Check how long the paint must cure before tape can be applied, and test the tape in an inconspicuous place. A product described as easy to remove can still lift a weak underlying finish.
Remove dust and allow any approved cleaning moisture to dry. Apply tape in manageable lengths so it follows the intended boundary without stretching into a wavering line. Press the paint-side edge as directed by the manufacturer. Wrinkles and small bridges over bumps create places for paint to travel underneath.
Load the brush lightly near the boundary. Work deliberately instead of leaving a heavy ridge against the tape. If several coats are required, respect the paint's recoat time and avoid assuming that a thick single coat will save time. Protect the adjacent floor as well; a perfect wall edge does not prevent a dropped brush from marking the flooring.
Plan removal before the paint hardens
Read the removal instructions for the particular tape and coating. Timing differs between products, so a universal rule to pull every tape while wet or to leave every tape overnight is unreliable. Remove it slowly, keeping the pull controlled and close to the surface as directed. Stop if the coating begins to lift rather than continuing along the entire wall.
Where dried paint bridges the edge, follow the maker's method for separating it without damaging the surface beneath. Sharp tools require a stable position and a clear path away from your hands. After removal, let the finish dry before judging tiny irregularities. A small deliberate correction is usually less conspicuous than repeatedly brushing at a partly drying edge.