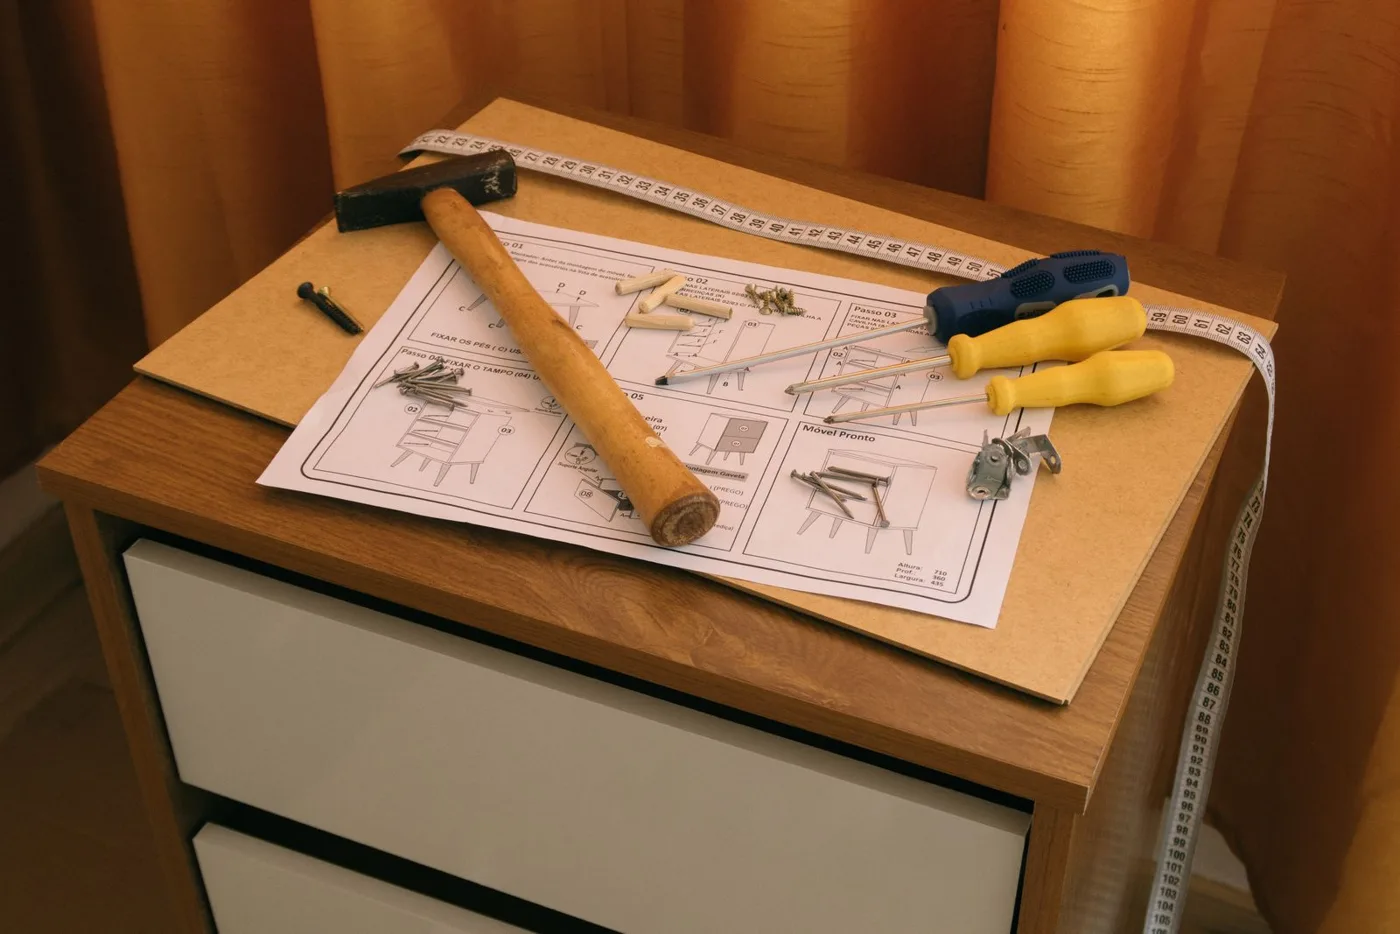
Furniture can look simple until several nearly identical rails and a handful of screws are separated on the floor. A short photo record helps preserve the relationship between the pieces, especially when someone else will reassemble them. It works best alongside the manufacturer's instructions rather than as a substitute for them.
Photograph the whole item before the first fastener moves
Capture the front, back and any features that distinguish one side from the other. Include the assembled position of adjustable shelves, brackets or cable routes where those details matter. Photograph existing wear as well, keeping the images private rather than uploading photographs of the inside of your home unnecessarily.
Find the model information and assembly instructions before starting. Check whether the furniture is designed to be disassembled and what the manufacturer recommends. Some glued or delicate joints may not tolerate repeated separation. If the item is unstable, unusually heavy or unfamiliar, obtain suitable help instead of treating photography as a reason to proceed.
Take the next photo while the relationship is still clear
Record each connection before removing it. Include a wider view that identifies its location and a closer view if different fasteners look similar. A photograph of a screw alone is less useful than one showing which bracket it passes through. Work in an order that keeps parts identifiable and does not leave the remaining structure unsupported.
Place each hardware group in a labeled container, noting the corresponding part or photo number. Do not mix all screws into one bag on the assumption that length differences will be obvious later. Protect small components from children and pets, and store hardware so sharp ends cannot puncture the package or scratch finished furniture.
Keep the record available at the destination
Use a simple folder name containing the furniture description, not just the moving date. Back up the photographs in a way that suits your normal privacy and device arrangements. Include the instructions and a note of any issue discovered during disassembly, such as a damaged connector that should be replaced before use.
At reassembly, compare parts with the record before tightening anything. Follow the specified order and hardware, and do not force a connector that seems wrong. Photographs help explain what was there; they do not certify that an old assembly was correct or safe. If a load-bearing piece, anti-tip arrangement or critical fastener is missing, resolve it with the manufacturer or suitable professional before putting the furniture back into everyday service.