Adhesive weatherstripping can help with a simple gap between moving window parts, but it is not a repair for a distorted frame or a window that will not latch. Before buying a roll, identify the intended sealing surface and check the window maker's instructions. Adding material in the wrong channel can interfere with drainage or make operation harder.
Find the gap without dismantling the window
Observe the closed window and its existing seal. Note whether the material is missing, flattened or detached, and whether the sash closes evenly. A gap caused by damaged hardware or a warped frame may need a window specialist. Do not compensate for a mechanical problem by layering thicker foam into the opening.
Keep track of drainage openings, ventilation features and any emergency-escape function. Weatherstripping should not block them. If the original seal is a shaped insert rather than an adhesive strip, seek the correct replacement profile. A generic roll may not reproduce the way that seal compresses or fits into its channel.
Buy for compression and exposure
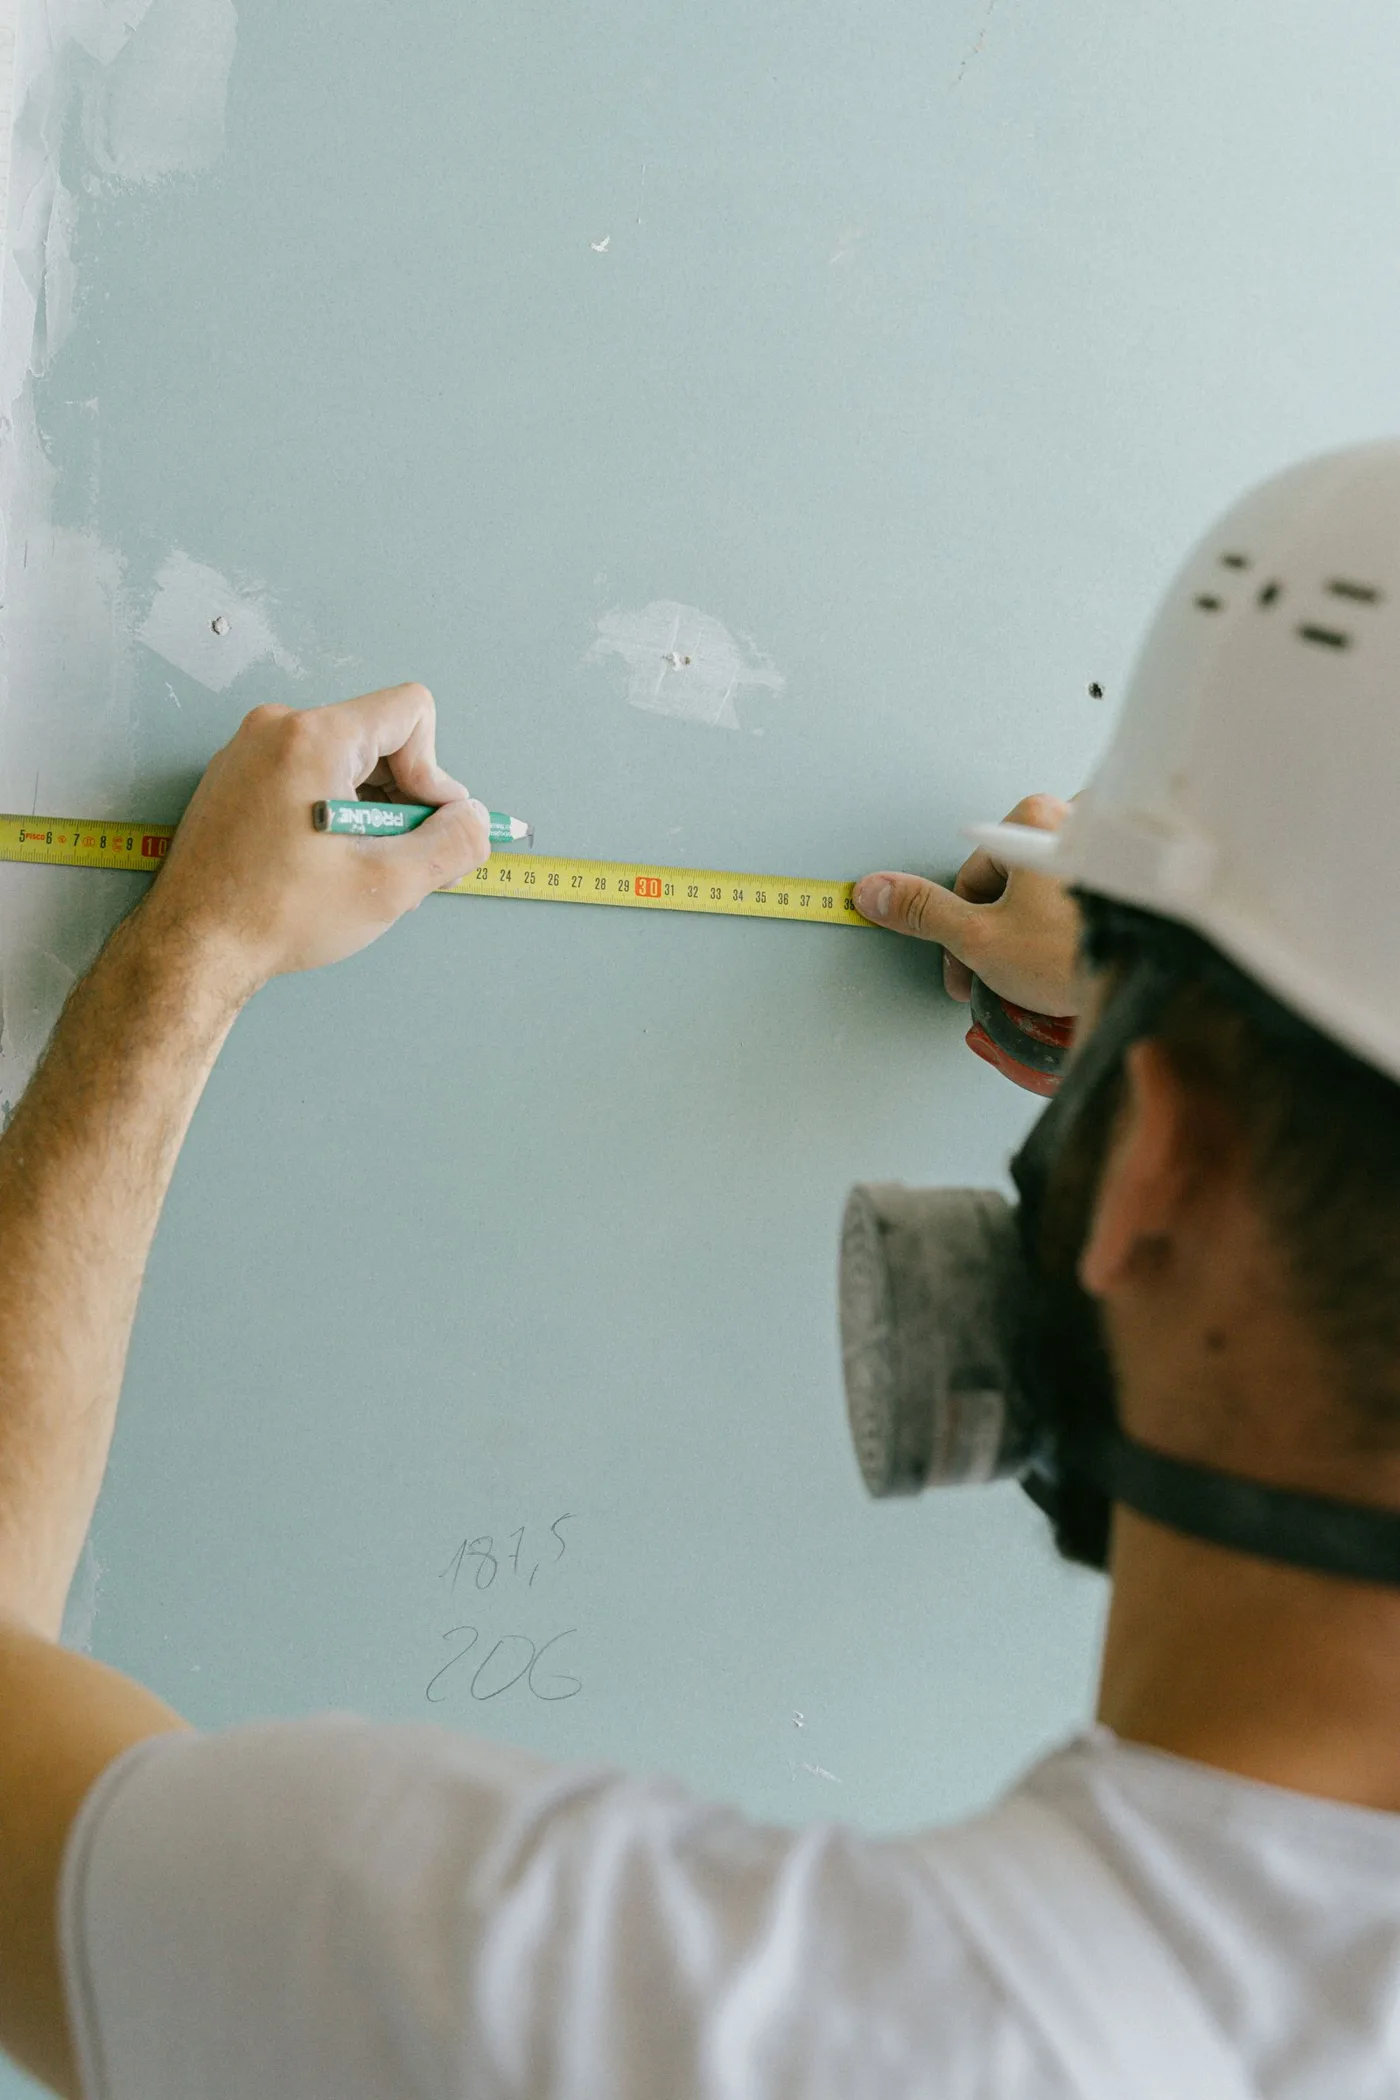
Measure the required run and the gap using the product maker's recommended method. Choose a material suitable for the window, exposure and movement. Thickness must allow the window to close and latch normally; a strip that looks reassuringly substantial can create excessive resistance. Purchase enough for continuous runs where the directions call for them.
Check the surface and temperature requirements for adhesion. Cold, damp or dirty frames can prevent a good bond. If removal of the old strip would disturb an unknown historic coating, pause for appropriate assessment. Avoid aggressive scraping or solvents that could damage the frame finish.
Fit a small section before committing
Remove only the old material involved in the approved replacement. Clean the contact area with a compatible method and let it dry. Test a short section to confirm the fit, then apply the strip without stretching it. Stretched material can pull back and leave an end gap later. Cut cleanly and follow the specified pressure and bonding time.
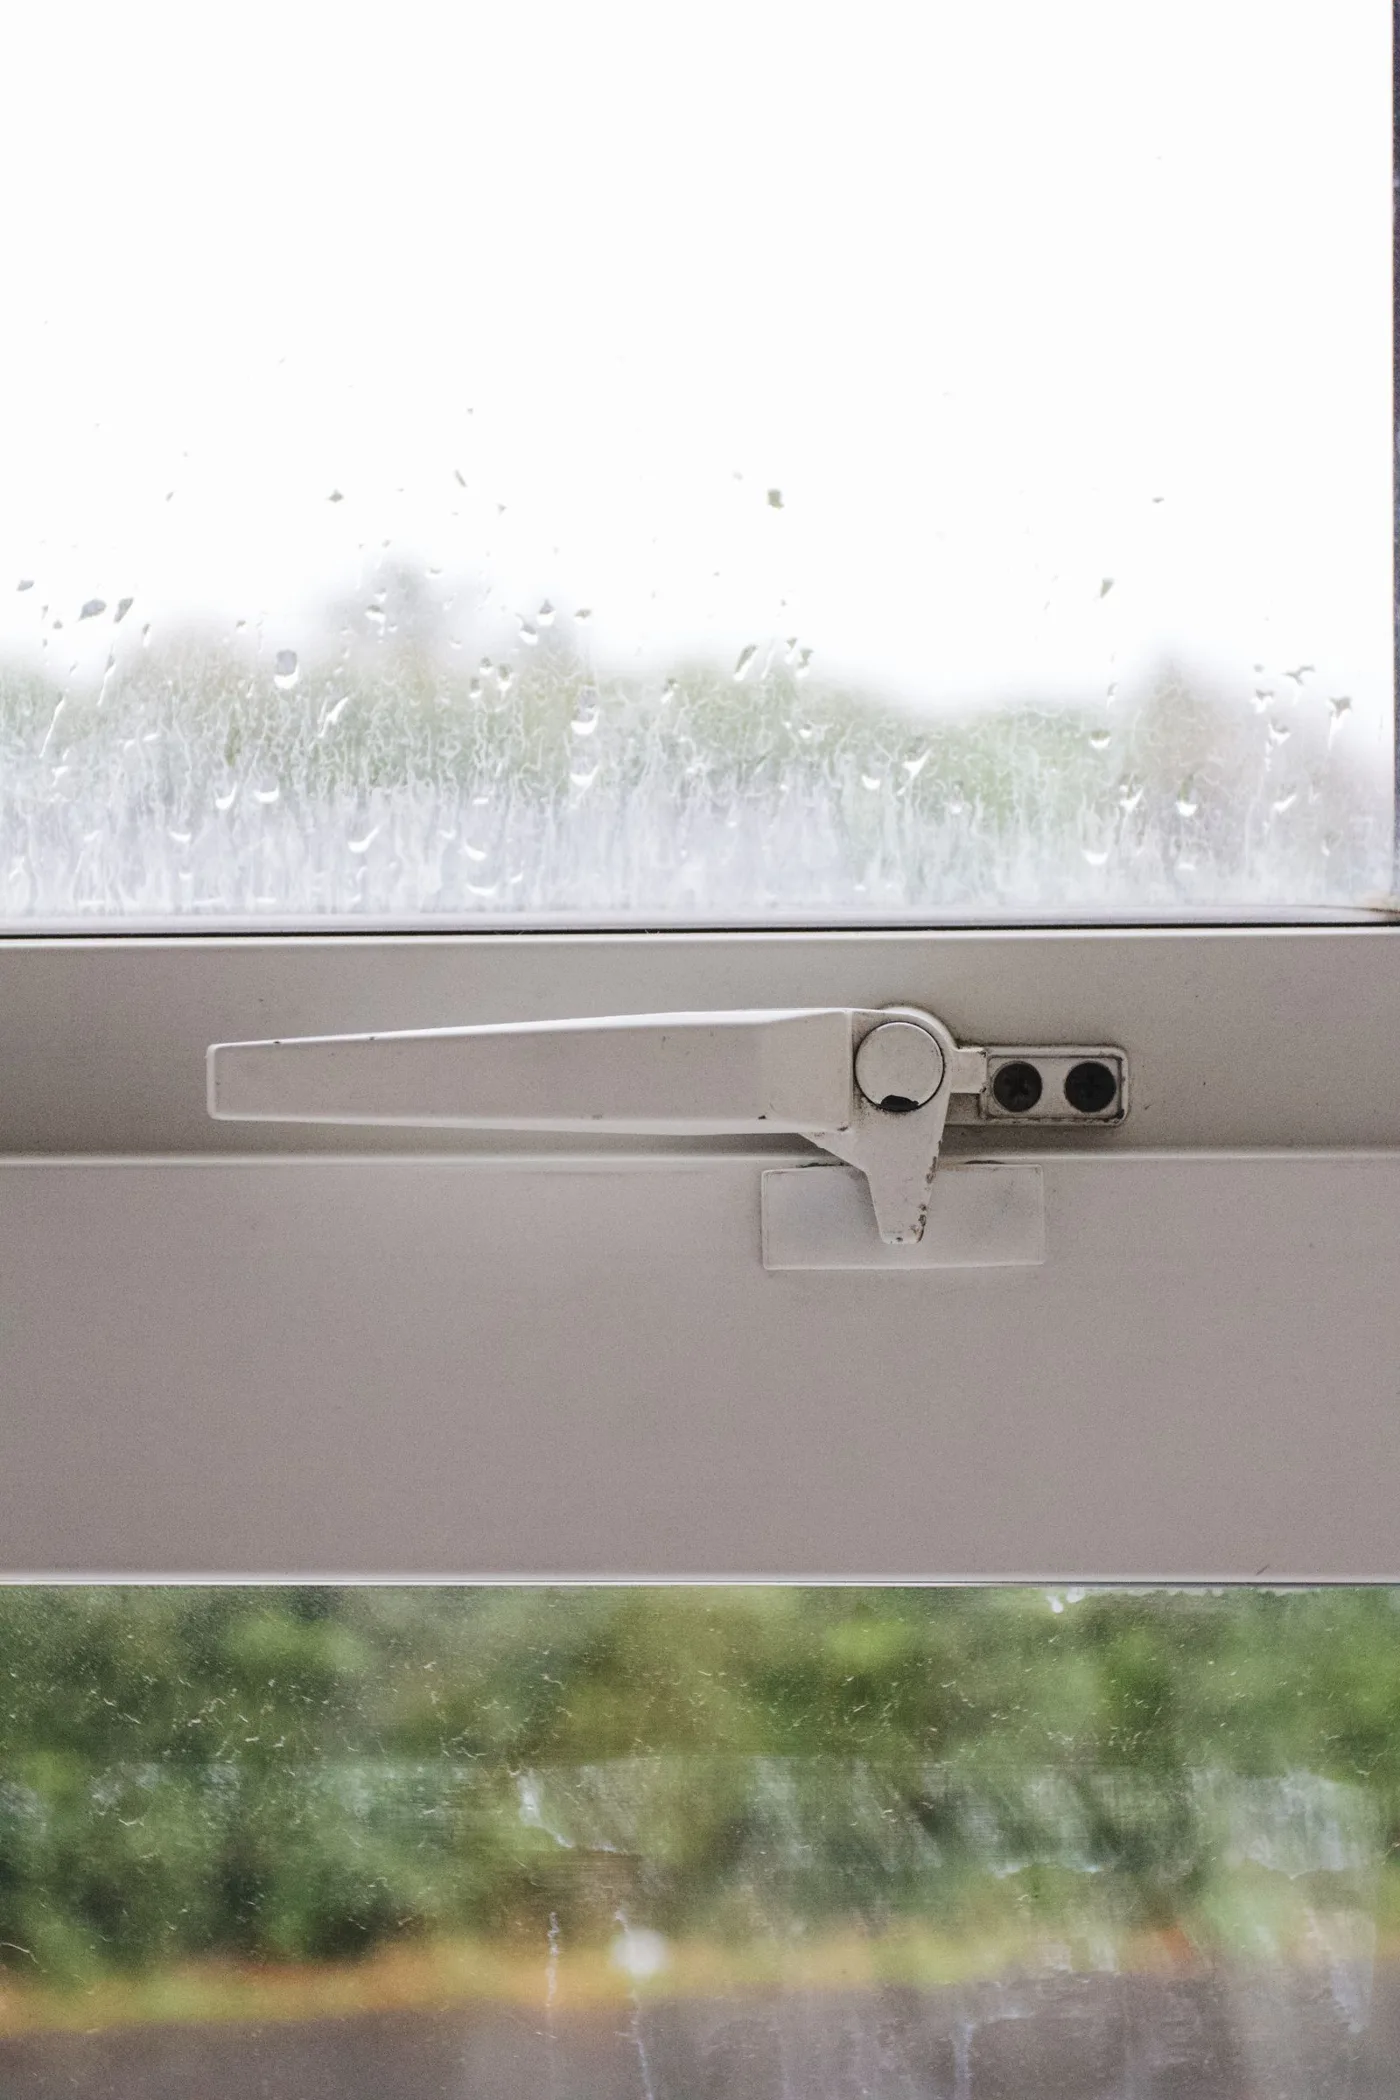
Close and latch the window gently. It should operate without forcing the handle, bowing the frame or pulling the new strip loose. Check the entire run and any corners, then reopen it to confirm that the material stays in place. If the window becomes harder to use, remove or revise the installation according to the maker's guidance.
Recheck after ordinary use
Inspect the seal after several openings and after the weather changes. Look for peeling ends, compressed sections and moisture where drainage should remain clear. Record the product profile for future replacement. A successful small repair should preserve normal operation, not require a special closing technique every time the window is used.