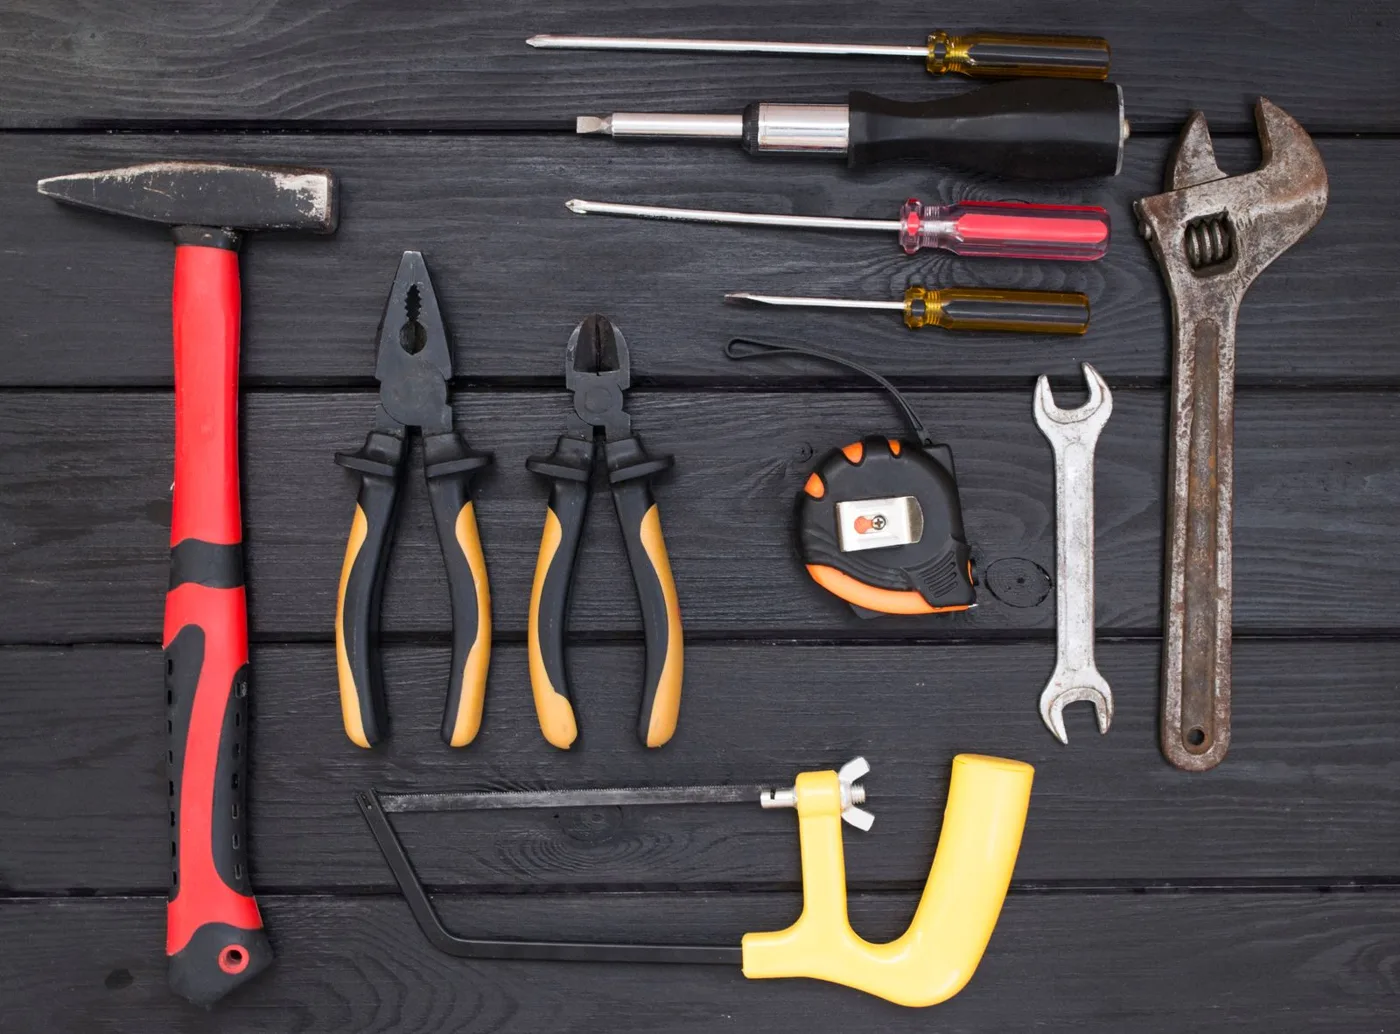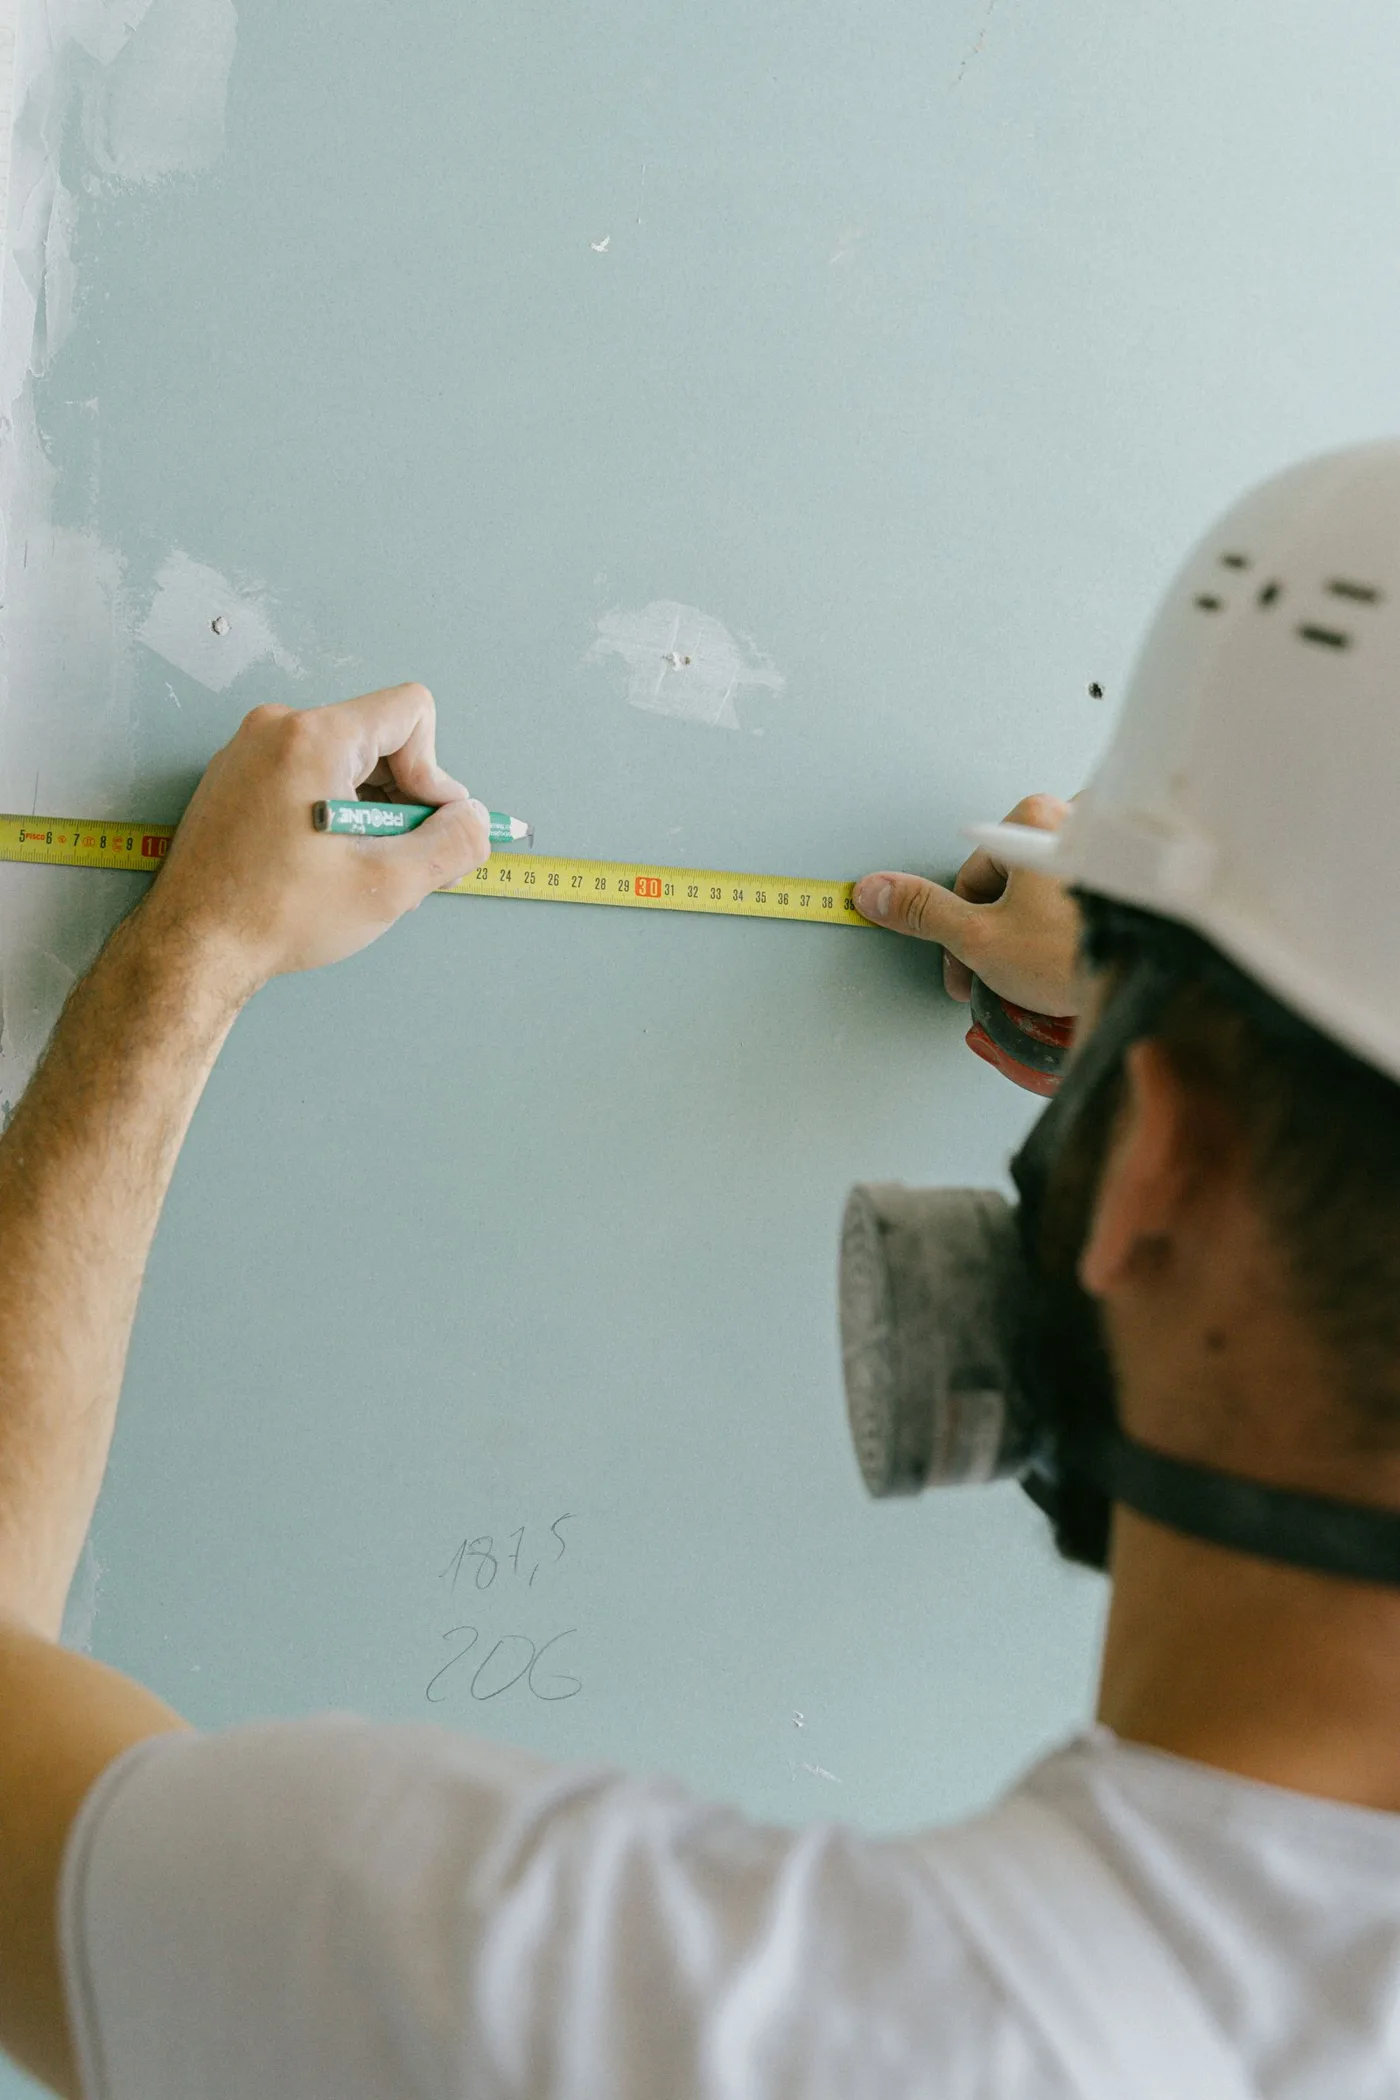
A clamp should hold a repair in the intended position, not force poorly fitting parts into submission. For a small wooden assembly, the most useful preparation is a dry run: arrange the pieces, pads and clamps before opening the adhesive. You can then discover awkward angles while there is still time to change the setup.
Choose where the pressure will land
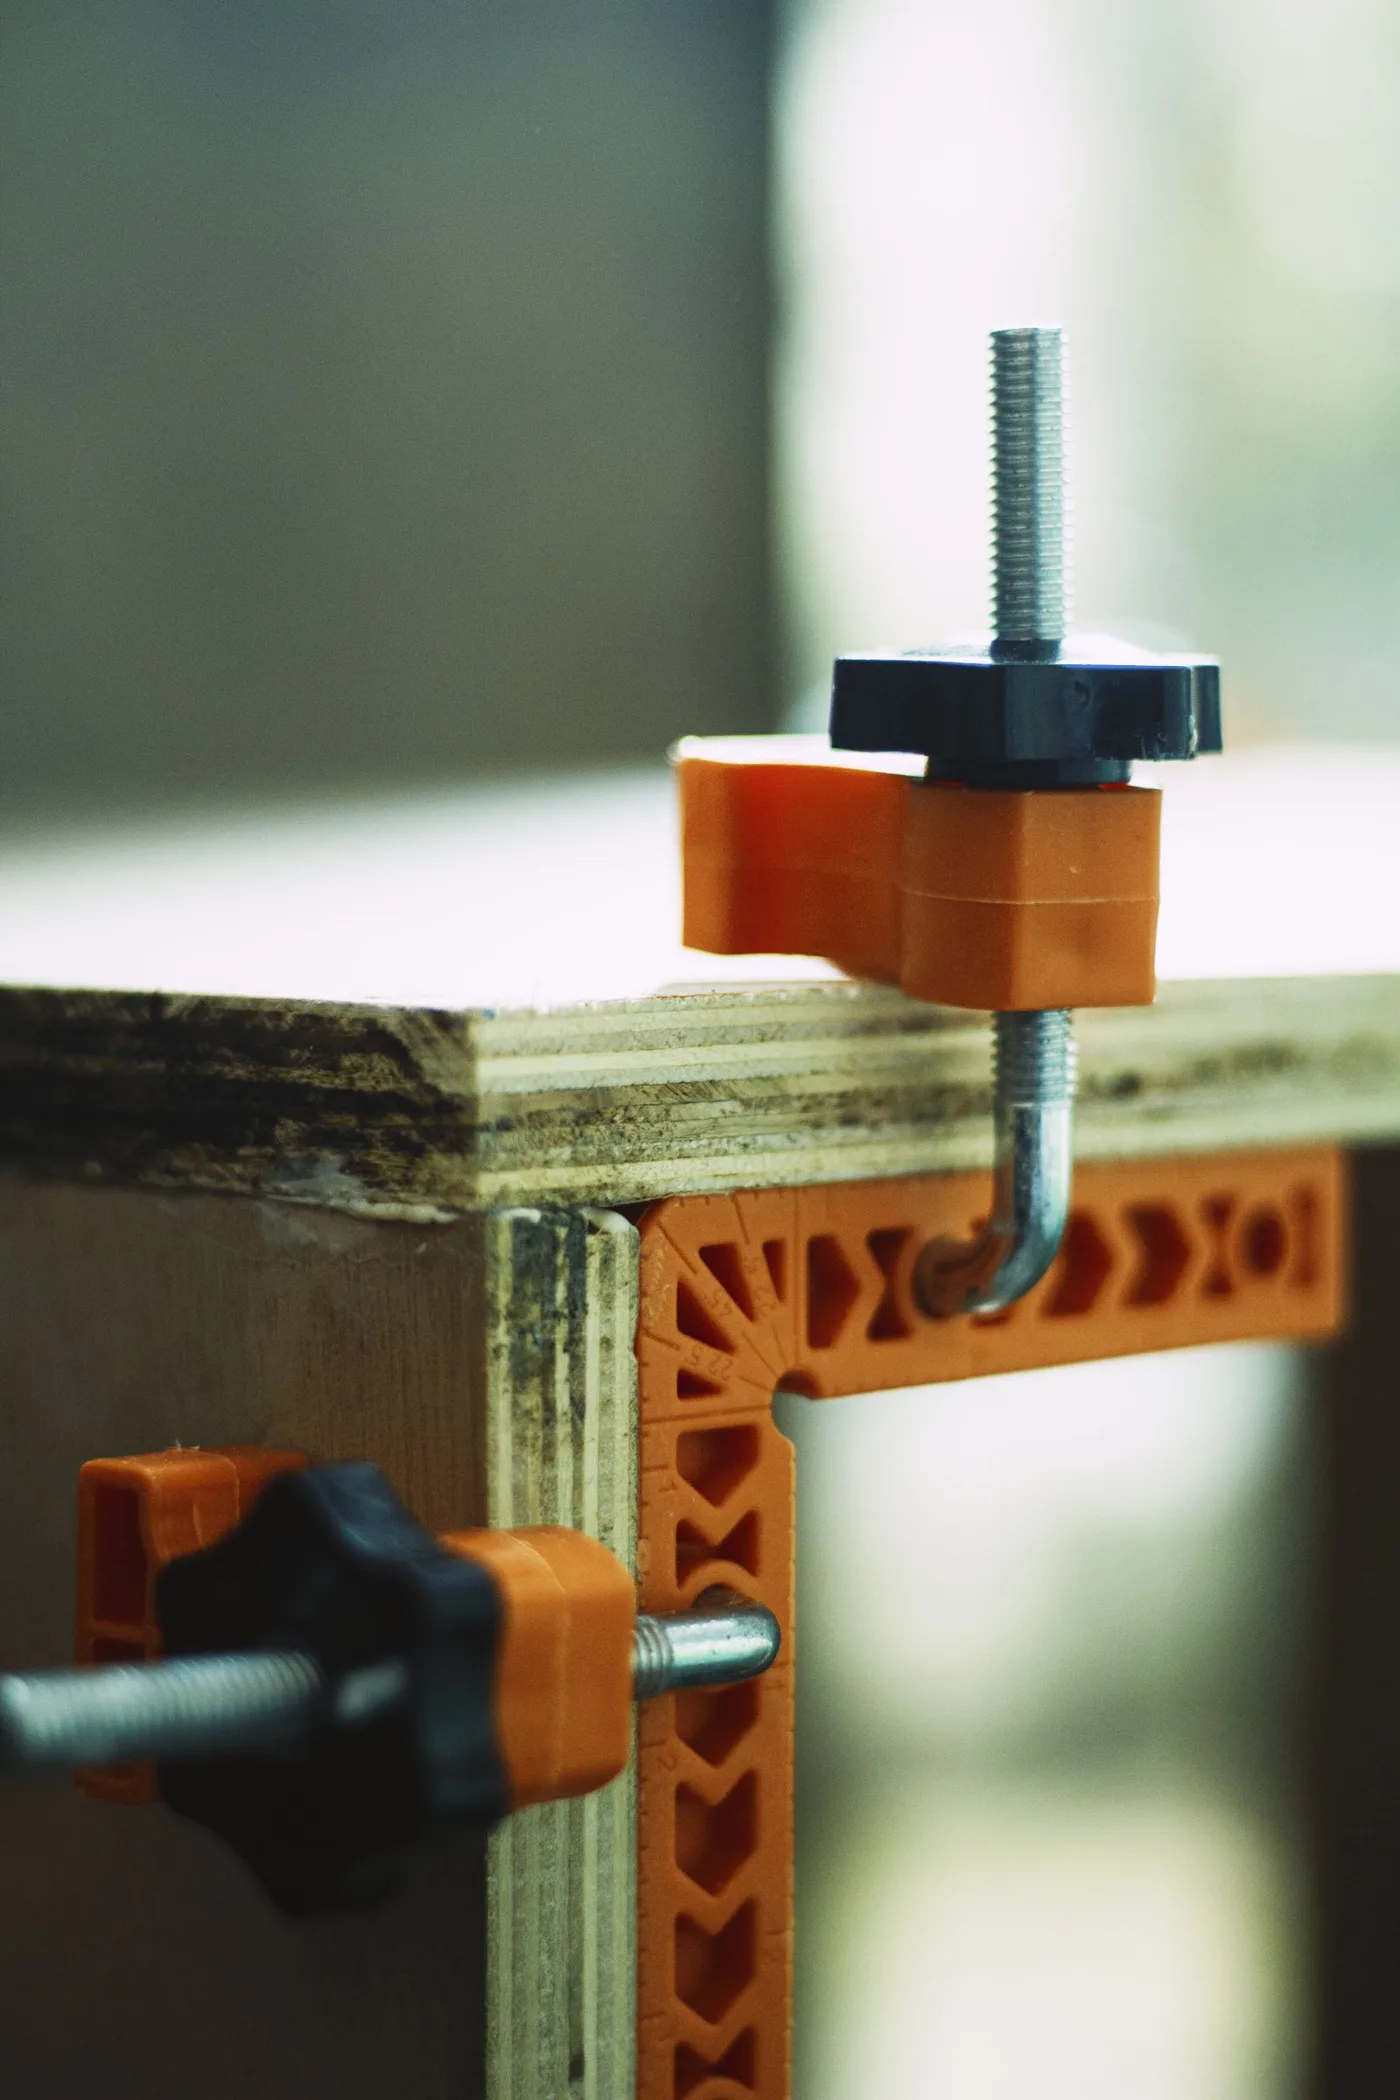
Identify the joint surfaces and the direction in which they need to come together. Put protective pads between the clamp jaws and finished wood, making sure the pads cannot slip. Avoid placing pressure on a thin unsupported panel, decorative molding or a fragile corner. The support must carry the clamping force without distorting the object.
Check the clamp's reach and opening against the assembly. A clamp just barely spanning the work can be difficult to position securely. Inspect its jaws and mechanism, and keep fingers clear of pinch points. If the piece is small, arrange a stable base so tightening the clamp does not tip the whole repair off the bench.
Rehearse the sequence without adhesive
Bring the parts together gently and check that they fit correctly. If a gap remains because a piece is broken, swollen or misaligned, more clamping pressure is not a diagnosis. Confirm that the assembly stays square and that the jaws do not slide as they tighten. Mark the intended orientation in a way that will not damage the finish.
Lay out everything needed for the actual glue-up, including a suitable cleanup method and a place where the work can remain undisturbed. Adhesives have different working times, temperature requirements and clamp durations. Read the product instructions before committing; do not begin a complicated assembly on the assumption that every wood glue gives the same amount of time.
Apply controlled pressure
Apply the adhesive only to compatible, properly prepared surfaces as directed. Tighten the clamps progressively while watching alignment. Excessive pressure can dent wood or distort the assembly, and squeezing harder cannot make an unsuitable adhesive bridge a poor joint. Manage squeeze-out by the adhesive and finish makers' guidance rather than spreading it over the surrounding surface.
Separate clamping time from return to use
Keep the assembly supported throughout the specified clamping and curing period. Removing a clamp is not always the same as returning the object to service. Label the repair if another household member might move it. For a chair, ladder, crib or other safety-critical item, obtain an appropriate repair assessment instead of assuming that a neat glue line proves the structure is sound.